


I do love it when a plan comes together. What’s even better is when you also have an incredibly talented sister with her own workshop and a trade card for the hardware wholesalers…
For my wedding, I had decided to have a photo booth wall. I’d seen it before on good old Pinterest and I’m lucky enough to have people around me with the creativity and skill to make it happen. Afterwards I got to thinking about how I could have something like this to use within my business. The photo booth wall I had at my own wedding was HUUUGE! And clearly not something I could easily transport around so I needed to re-think the design in a way that meant I could take the wall apart and transport it in sections, and then easily and quickly bolt together once at the location.
And who did I know that could help me with this task? None other than my amazing sister. As a successful upholsterer in London, I knew she would know a thing or two about how we could go about making the wall, so I was delighted when she shared my excitement and enthusiasm for the project. Many phone calls and chats later (I’m pretty sure she never wants to hear me talking endlessly about different wallpaper designs ever again) and we were ready to begin the construction.
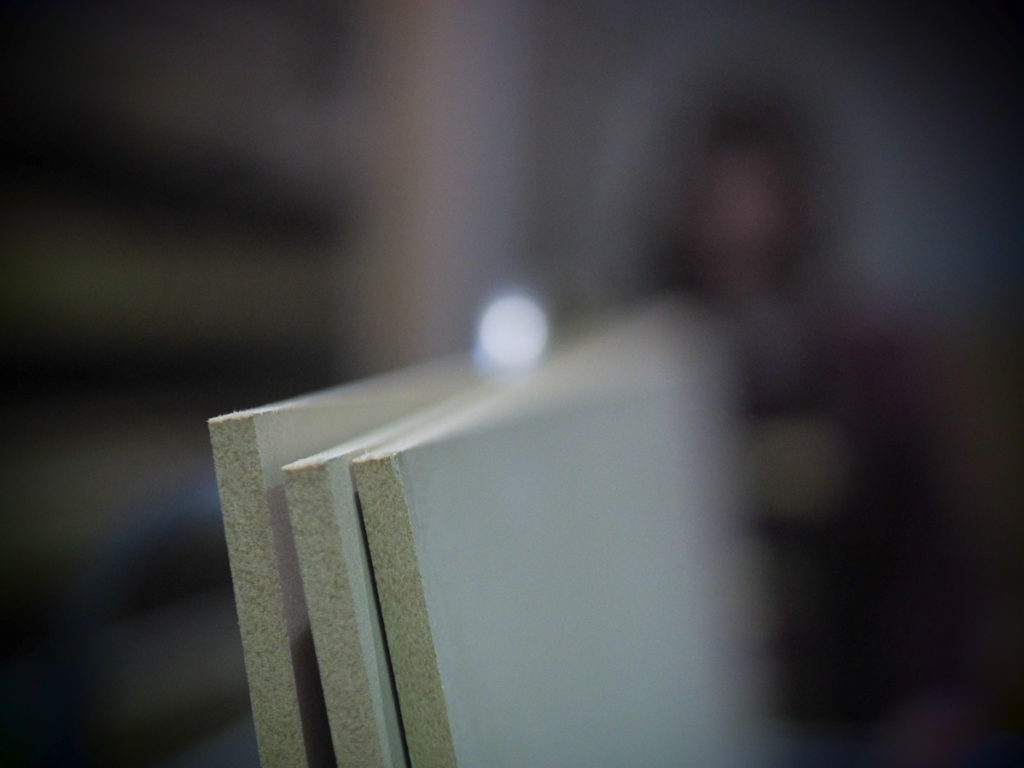
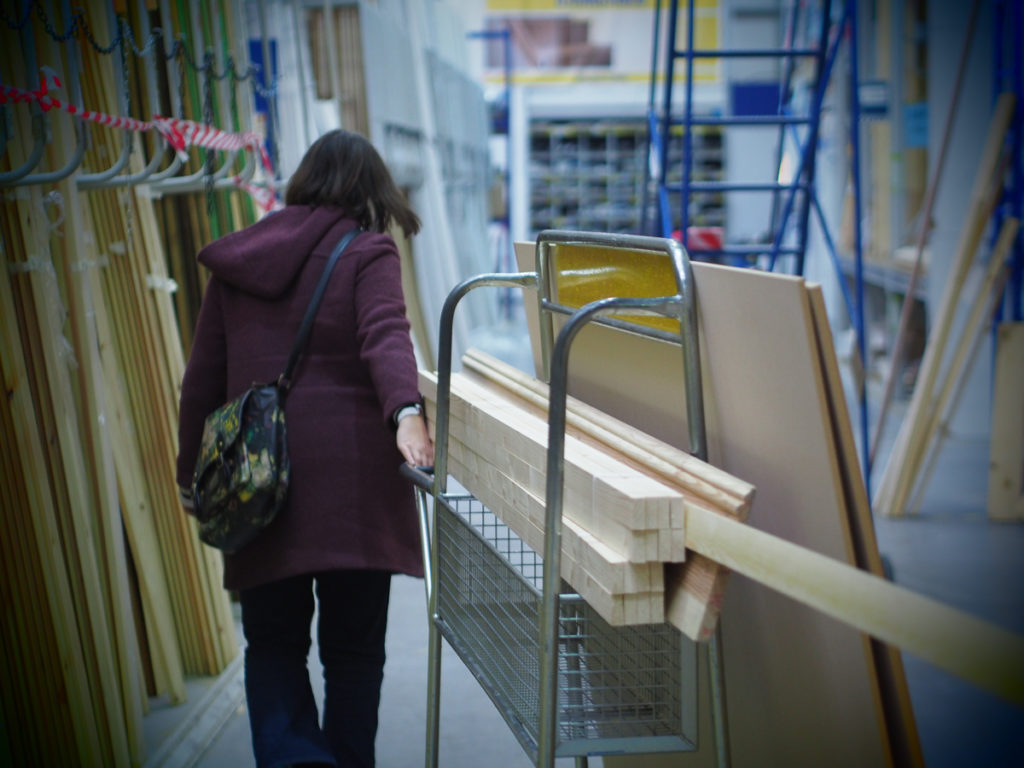
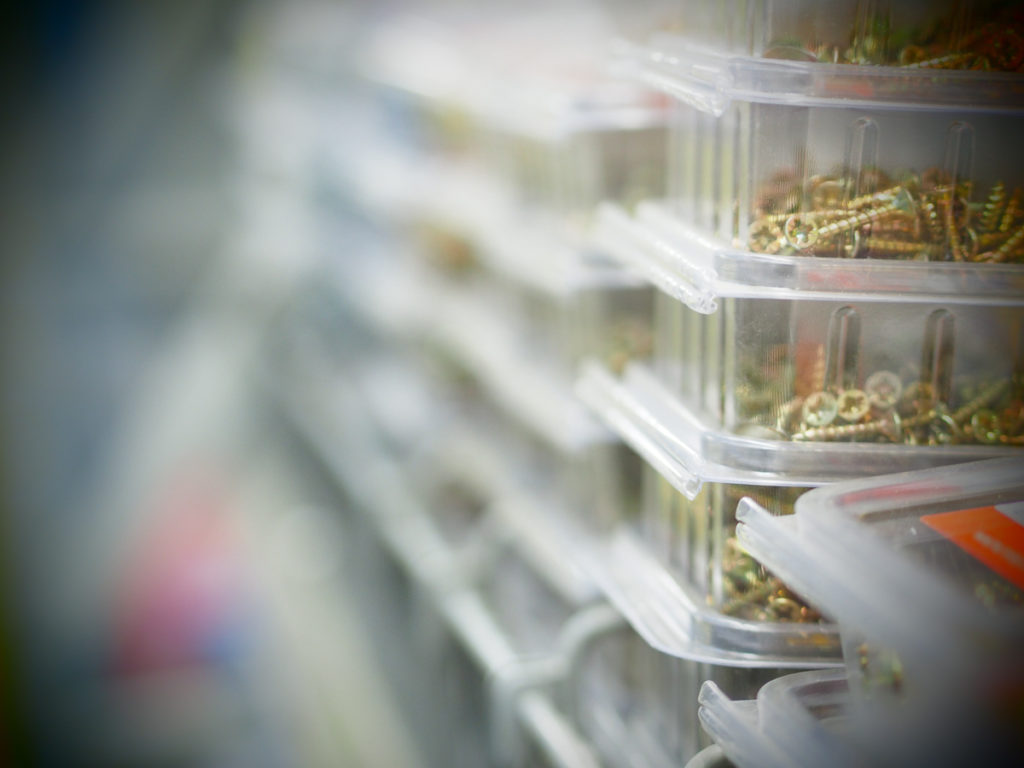
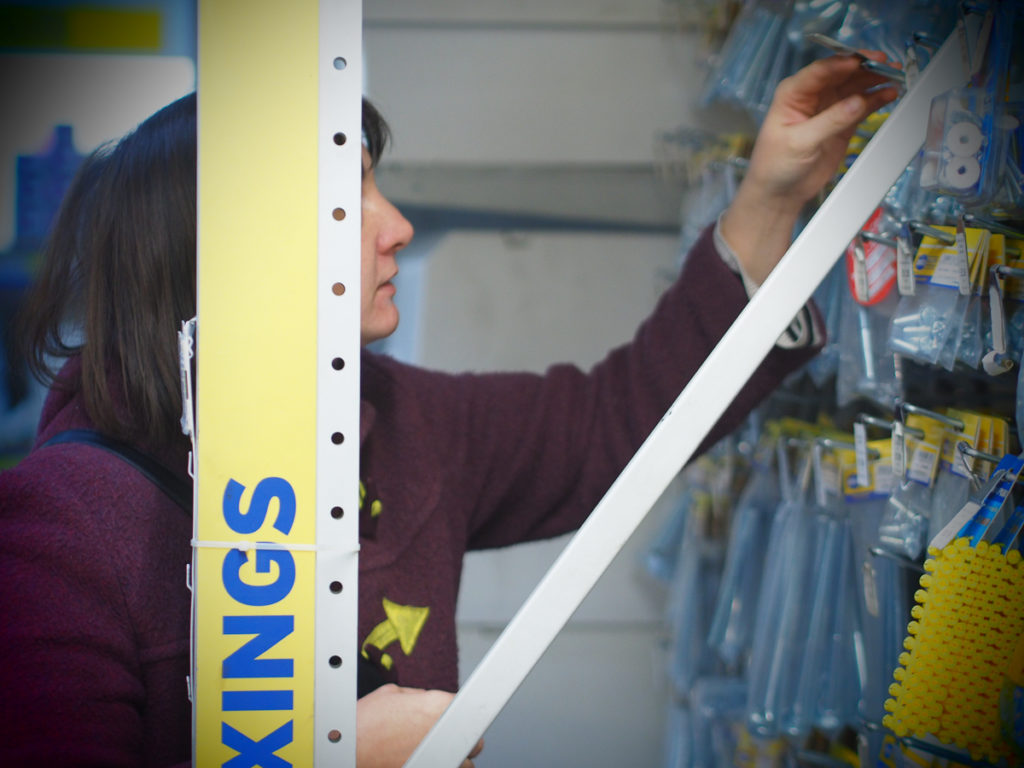
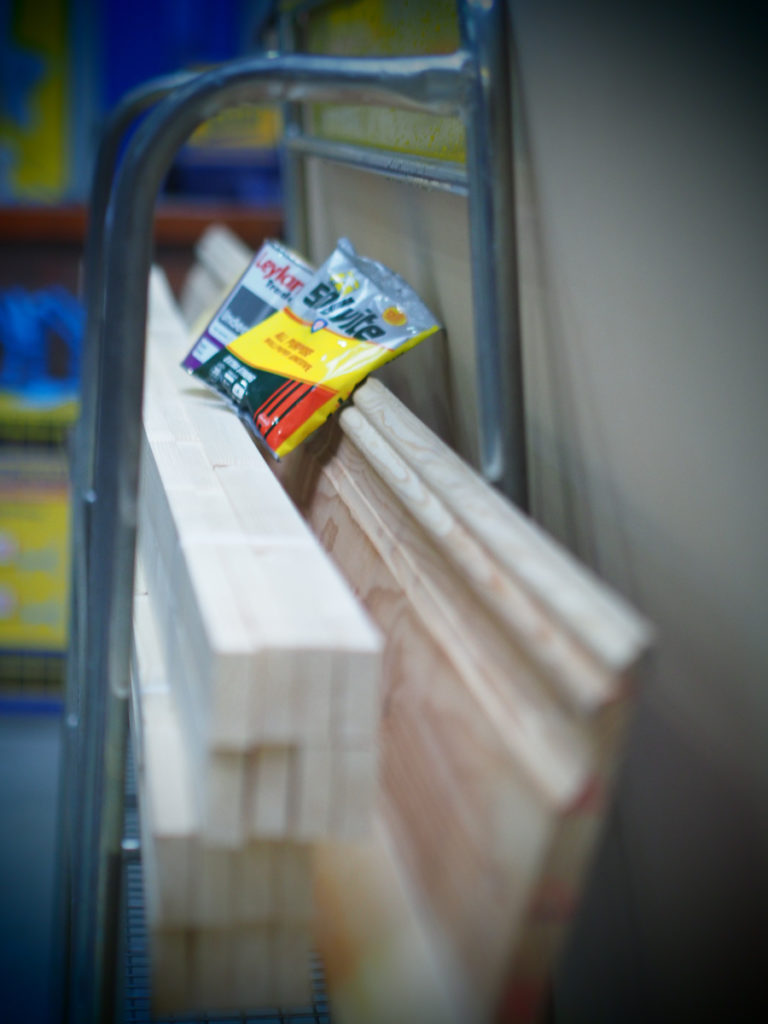
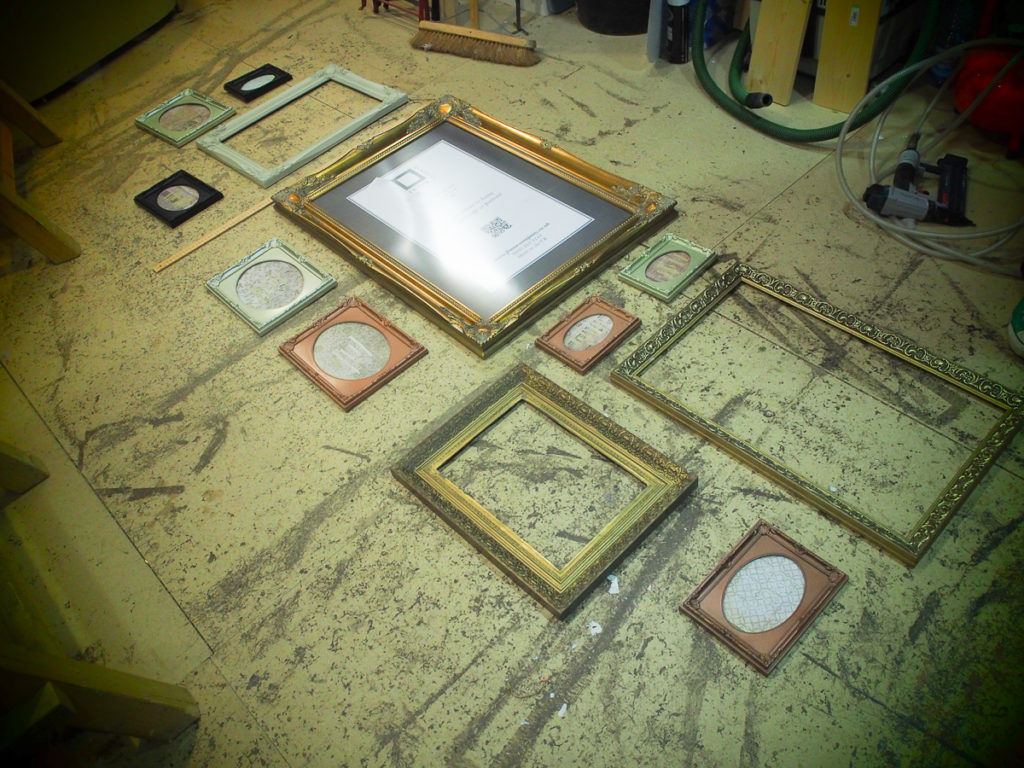
So, on a very cold and snowy February day, off we skipped to the wholesalers to get all things needed to construct my wall. I was able to upcycle the frames from the old wall so all that was needed was some MDF, some screws and hinges, wallpaper and paint. I’m quite sure that I was pretty annoying taking pictures of the ENTIRE process. But as a little sister, isn’t it my job to be annoying?!
Here’s how it went down;
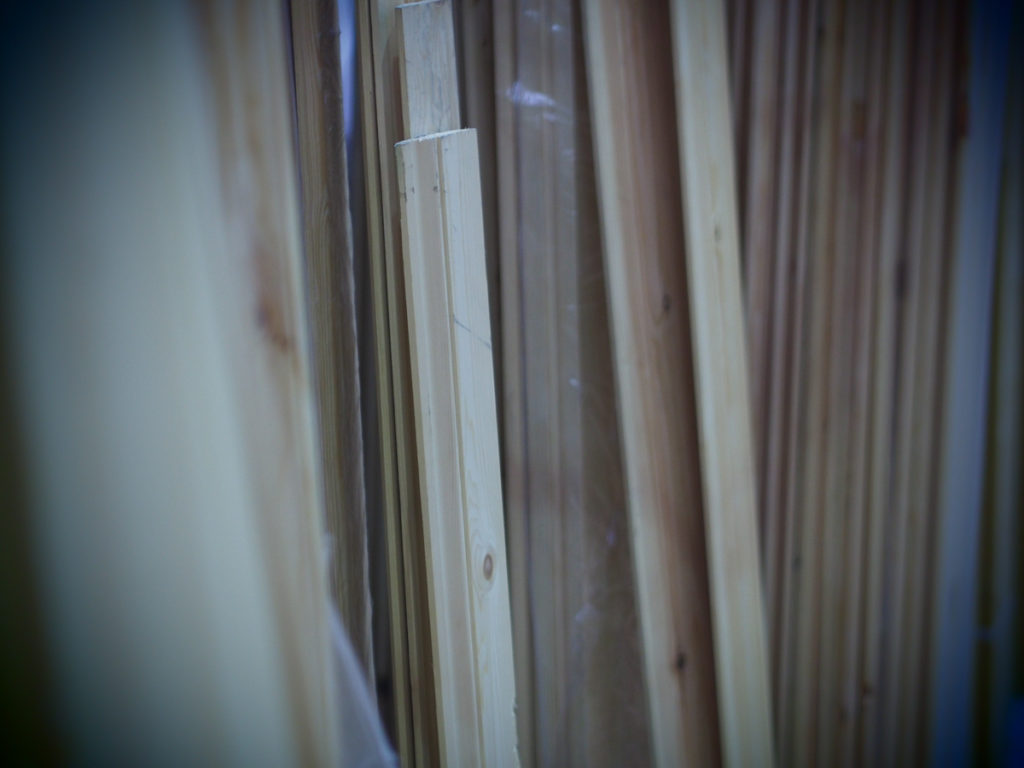
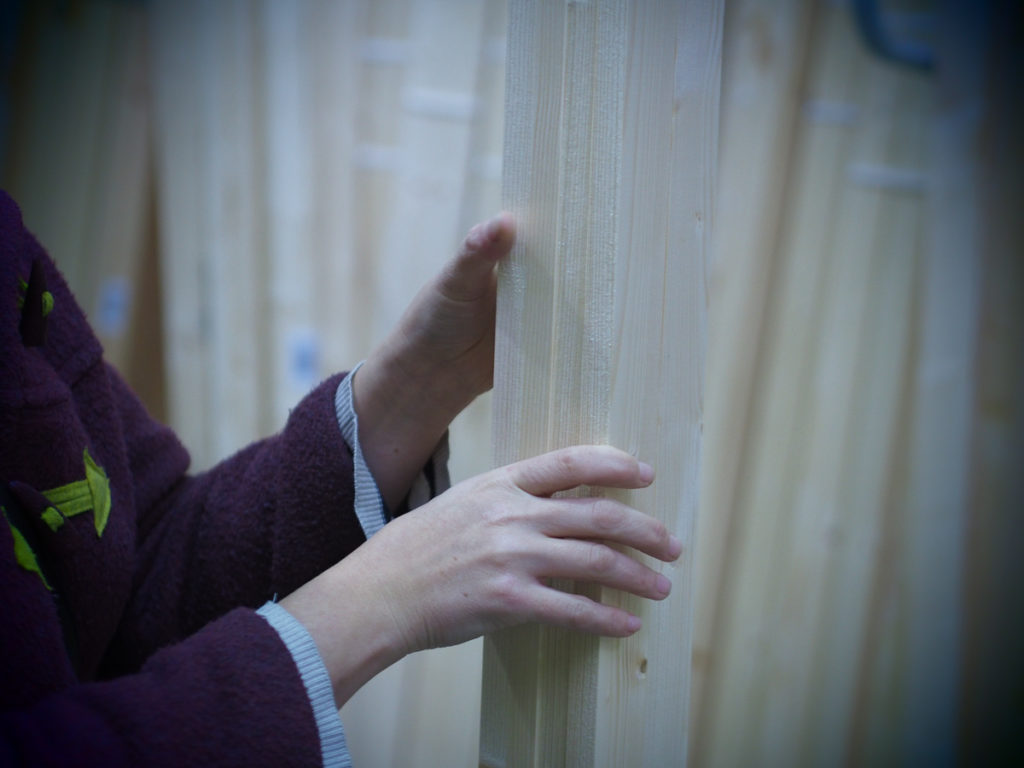
Firstly, we gathered our materials…


Obviously some high tech sketches needed to be done…

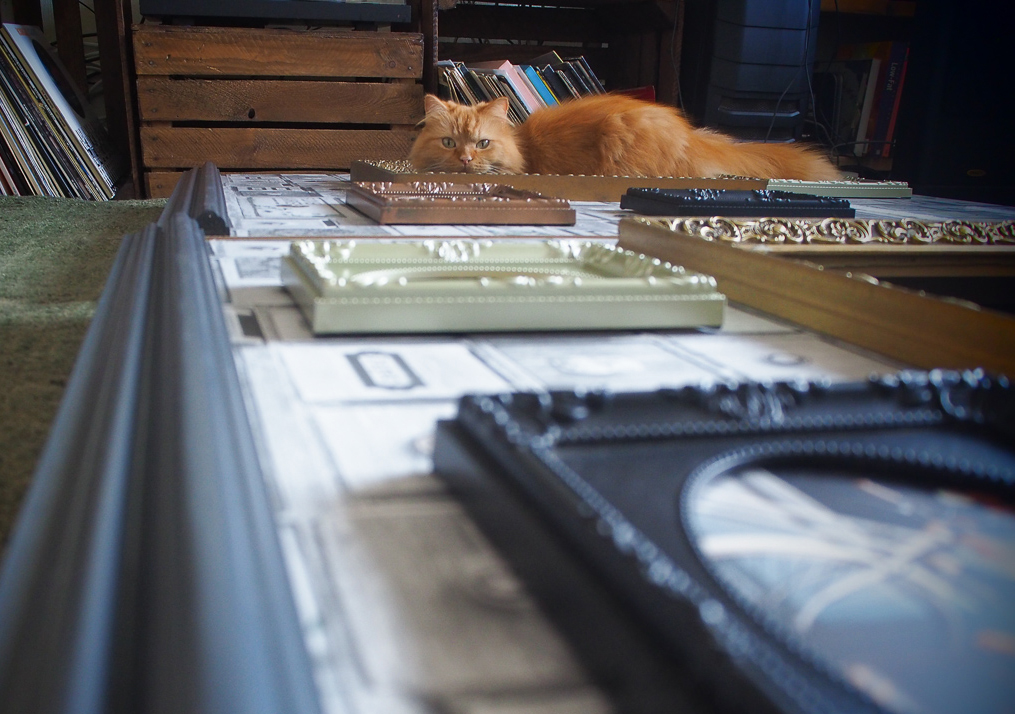
The frames were up-cycled from the old wall with random text in, I’ve since replaced the text with other images


working out the layout…


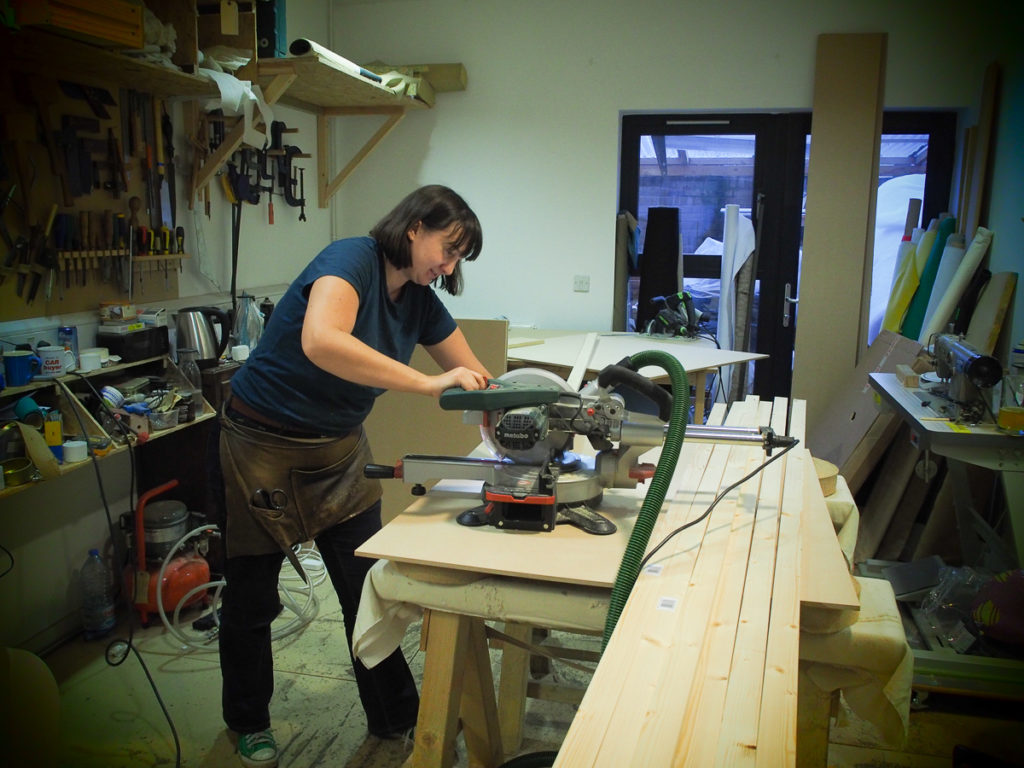
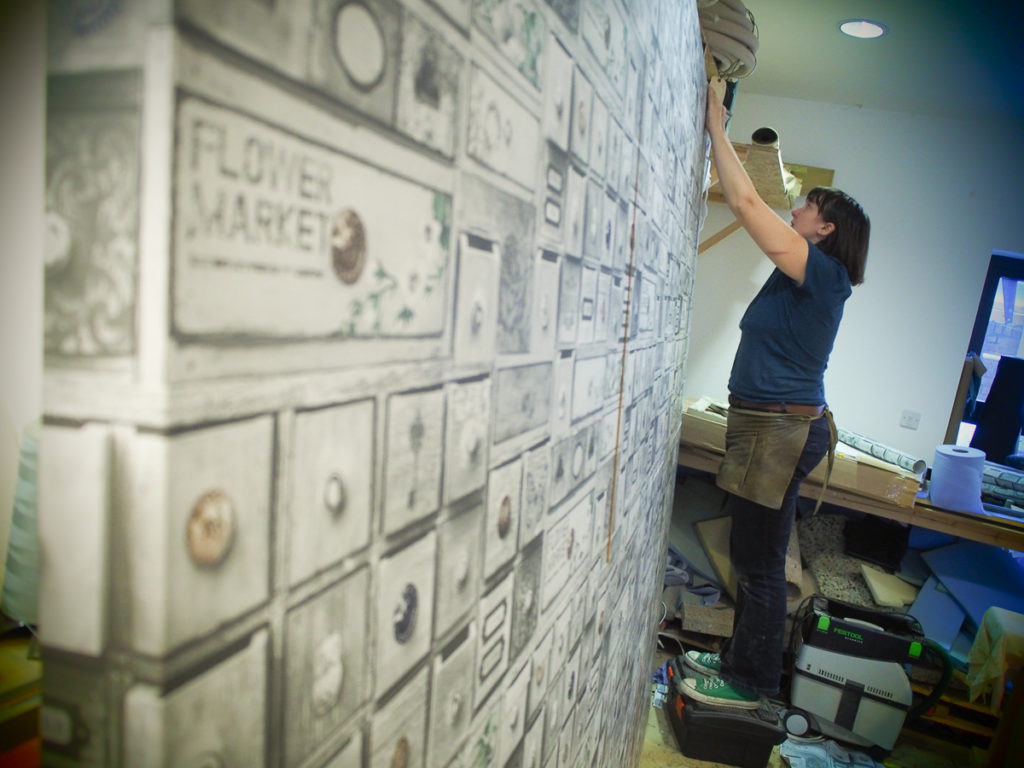
And then she’s off to work! (Ok, I’ll admit I did spend quite a bit of time mincing around taking pictures…we know where each of our strengths lie.)


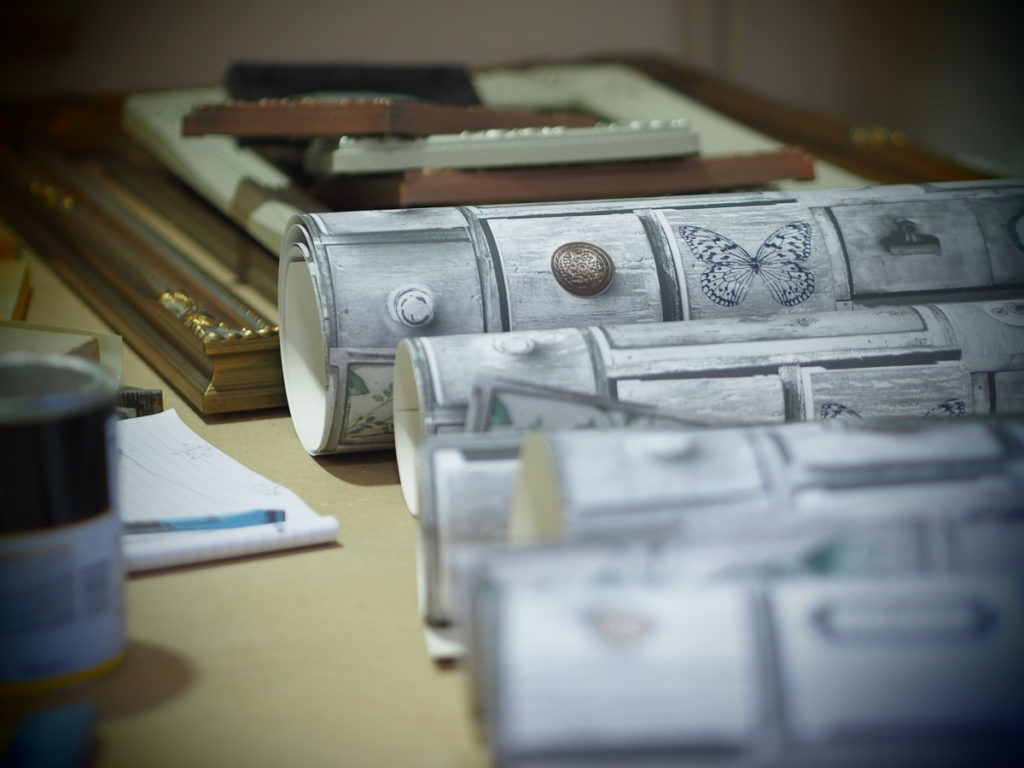
I love this wallpaper from Graham & Brown! (And believe me when I say I looked at a LOT of different designs)


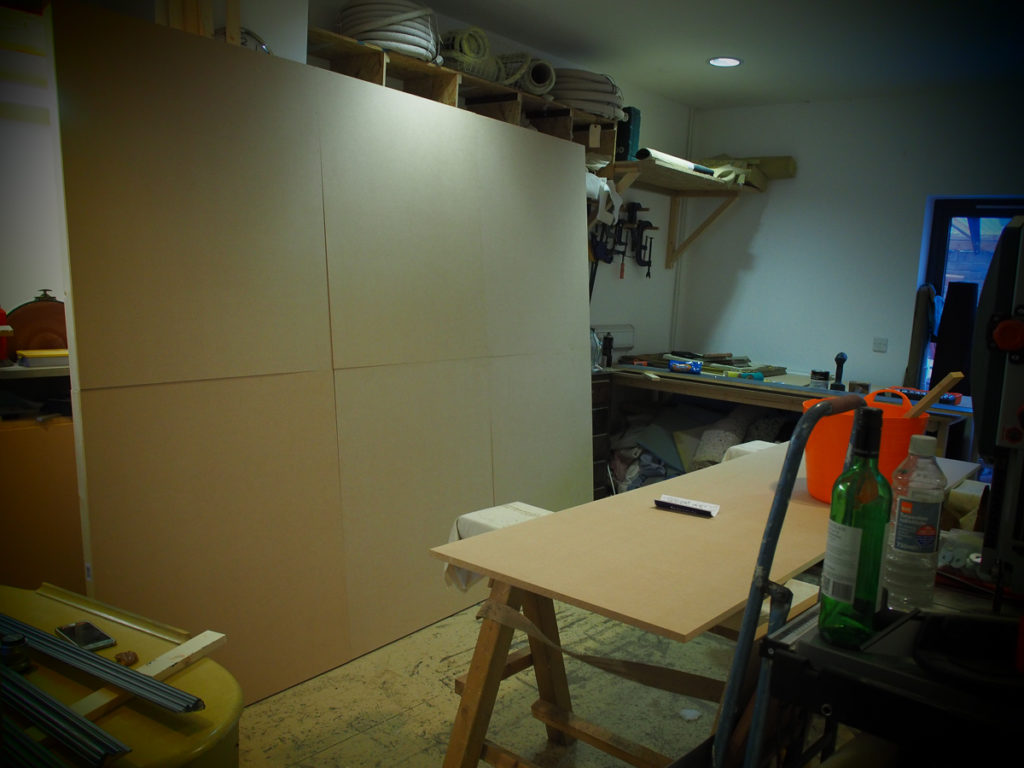
Lozzy constructed frames and then attached the MDF board to the frames…


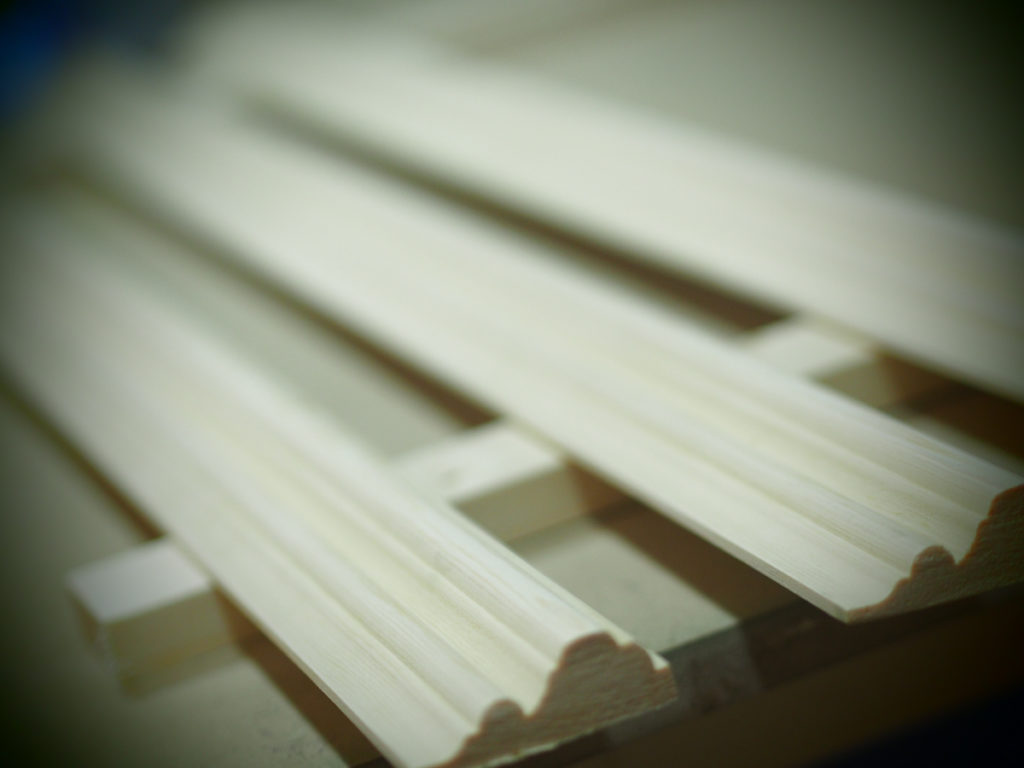
For some reason we both find ‘dado rail’ hilarious…
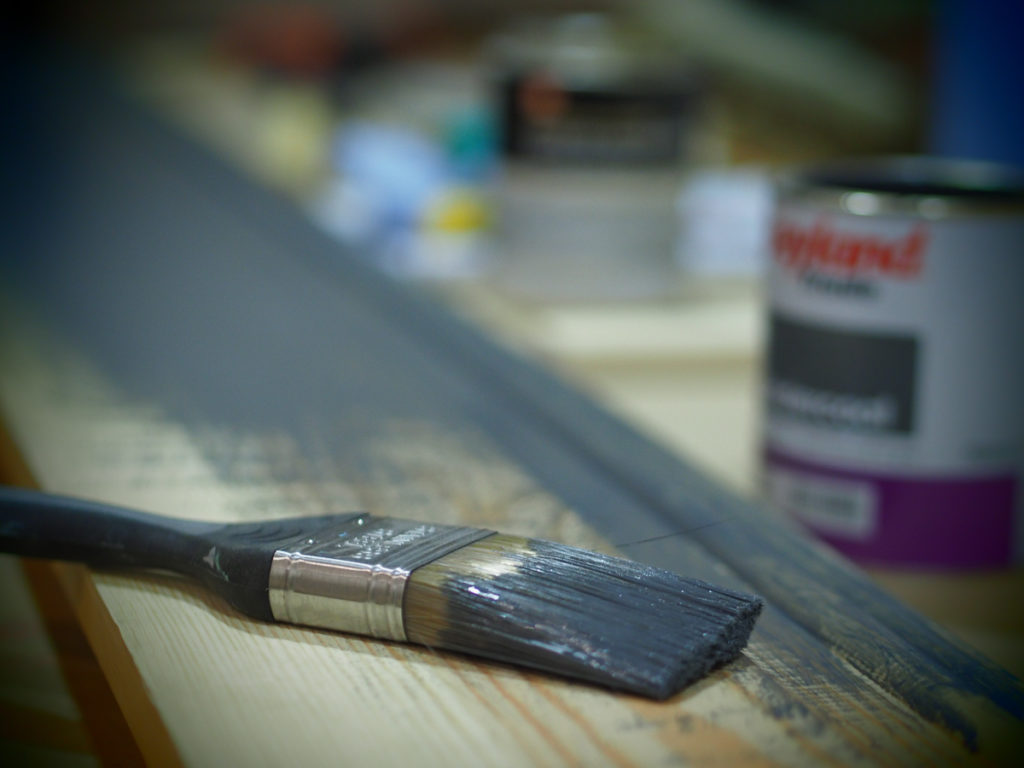
A spot of painting done for the skirting board by yours truly…
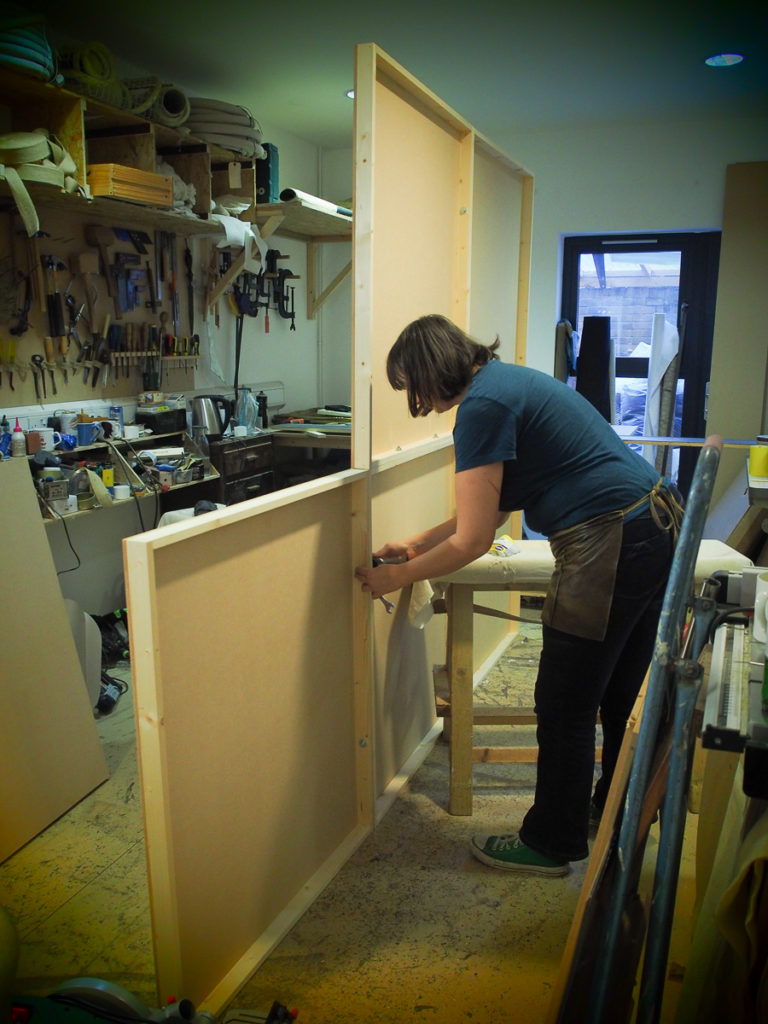
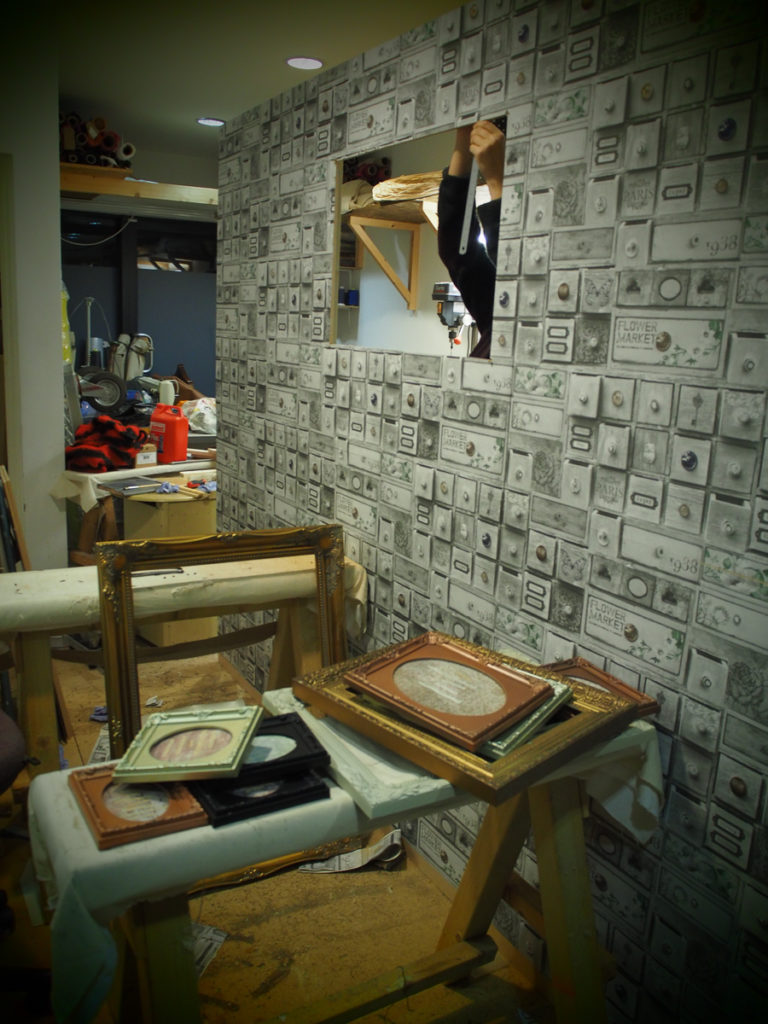
Once all 6 panels were made Lozzy drilled holes into them and bolted them together.

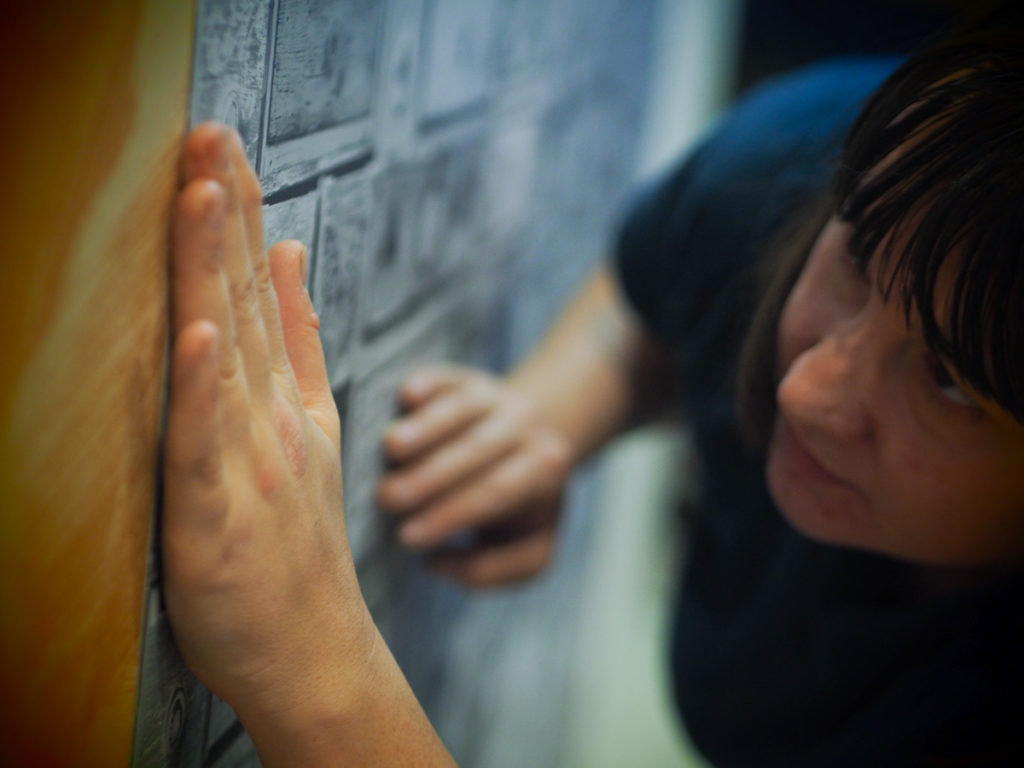
Then it was onto the wallpapering!


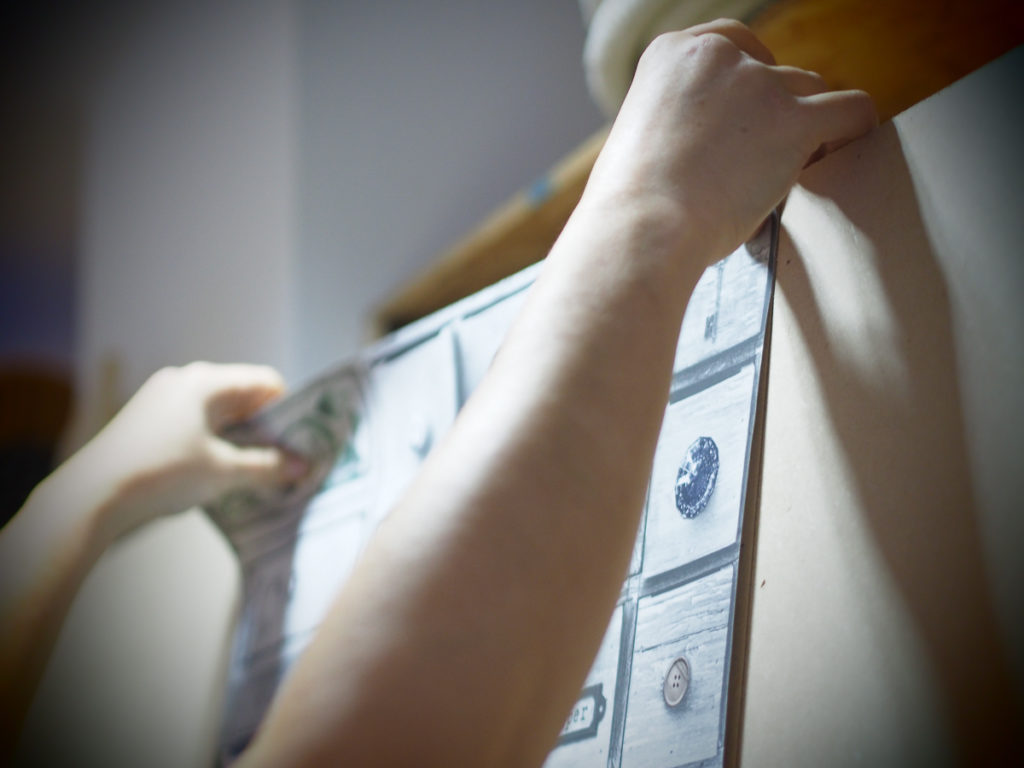

There was one slightly fraught moment when we realised that the panels we had pre-cut to save time now didn’t match up. Thankfully the dado rail (snigger) meant that we were able to work round the issue.

Here is photographic evidence that I did actually do some work!


Then it was time to make the hols for the frames! Making that first hole was a tense moment I can tell you!


A well deserved beer…


And voila! Here is it! Still needing the other smaller frames attached but by this point I think we were both losing the will to live. As you can see from the time, it was pretty late on a Sunday evening and we hadn’t even stopped for lunch!

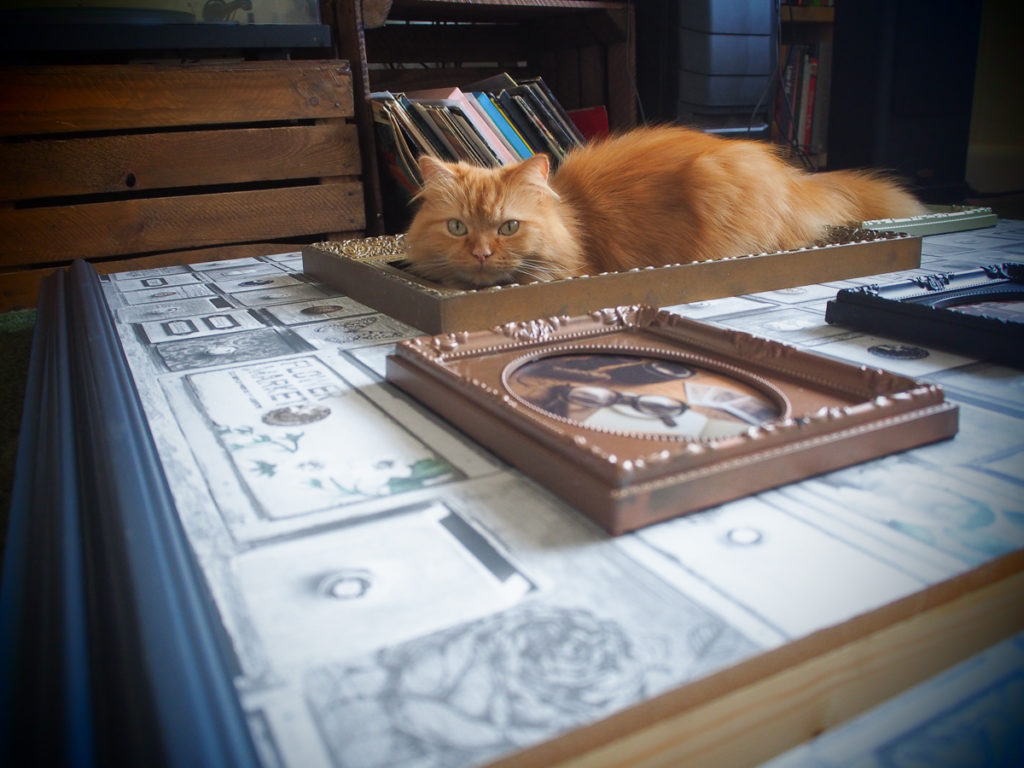
Back at my place attaching the smaller frames. Obviously Rufus’ input was appreciated… He’s so pretty…

The biggest thank you to my big sis for making this for me, you are a legend and I couldn’t have done it without you!
There’s just a couple more things to collect before the launch of this fabulously fun project so watch this space….!

 PREVIOUS